After Music China 2017 we have reordered the material and found these images. Enjoy 🙂
Baroni Lab Mini Amp Recording
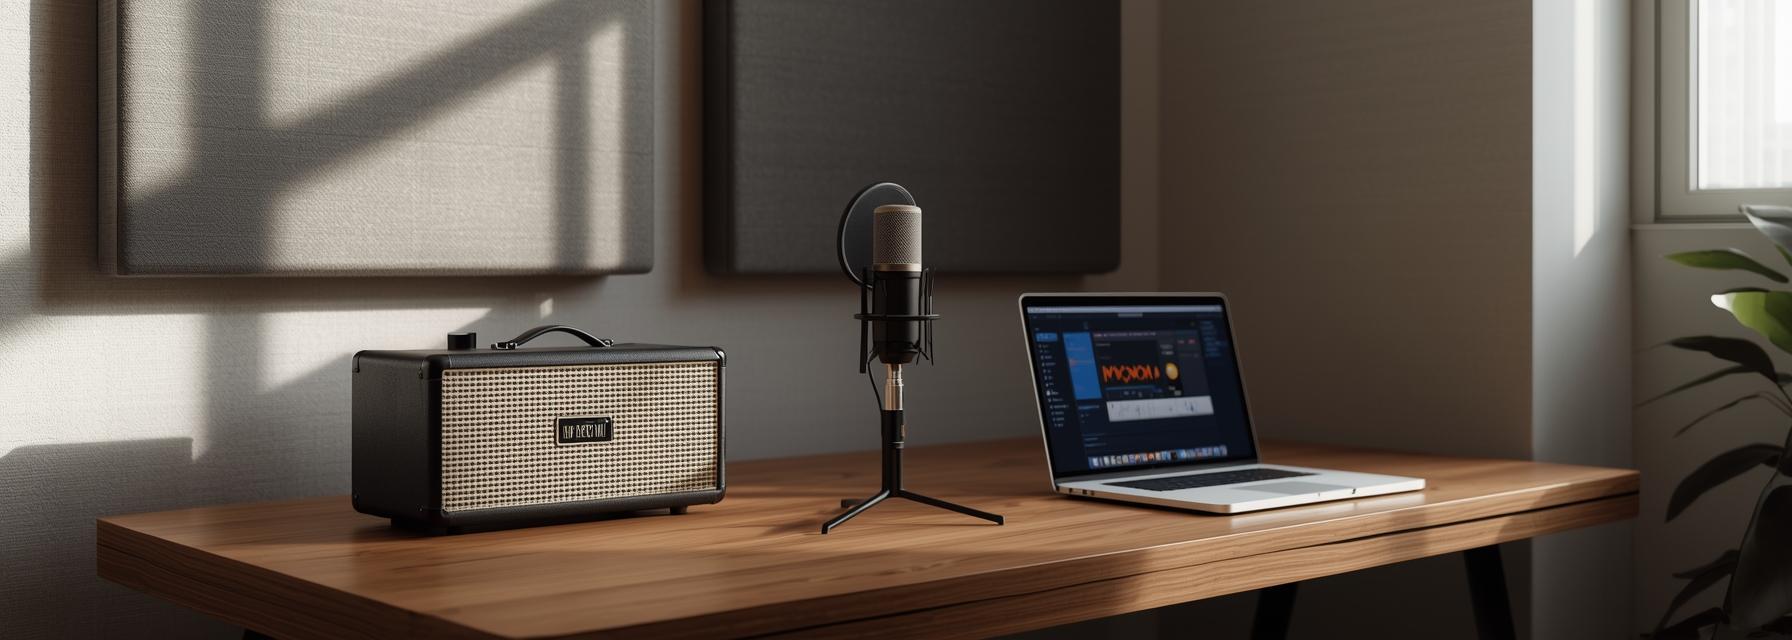
Compact amplifiers bring a practical balance between portability and tone that suits modern recording workflows. Small enclosures and low-watt power stages allow tracking at usable volumes in bedrooms and project studios without losing the core harmonic character players seek. While higher-watt amps offer broader clean headroom, mini amps deliver sweet saturated tones at lower levels, making them ideal when isolation and neighbor considerations matter. Common use cases include direct guitar tracking with a close mic, bedroom overdubs, mobile session work in rehearsal rooms, and re-amping in production setups.
Advantages for home and project studios are concrete. Compact amps often feature line outputs, headphone feeds, and DI options that simplify routing to interfaces. Their reduced physical footprint makes microphone placement and baffle use easier. For producers chasing authentic small-amp vibe, these units capture a focused midrange and quick transient response that sits well in mixes. Trade-offs exist: smaller speakers color high and low frequencies differently than 12-inch cabinets, and lower headroom can compress dynamics earlier. Understanding those traits is key to translating a mini amp’s performance into a polished recording.
Design and Tone of Compact Amps
Circuit choices shape character. Solid-state designs can provide clean, punchy response and low noise. Hybrid circuits pair tube preamp stages with solid-state power sections to approximate tube warmth while keeping size and cost down. Emulated tube voicings and digital modelling attempt to recreate tube sag and harmonic content through DSP. Each approach affects feel and harmonic complexity. For players who react to amp dynamics, hybrid and real tube stages often yield superior touch sensitivity.
Speaker size and enclosure type define tonal footprint. Common speaker diameters for compact rigs are 6.5, 8, and 10 inches. Smaller cones emphasize midrange and tight low end while reducing low-frequency extension. Open-back enclosures produce airier high end and natural bleed for room mics. Closed-back boxes focus low end and projection. Power rating impacts headroom and dynamic response: 1 to 20 watts is typical across mini amps. Lower wattage tends to drive the preamp faster, producing natural overdrive at moderate playing levels. Designers that manage impedance and damping factor well preserve dynamic nuance even at low power.
Preparing the Signal Chain
Consistent, noise-free signals start at the guitar. Use high-quality instrument cables and ensure output pots and switches are clean. When connecting pedals, place dynamics and compression before gain pedals and drive units. Time-based modulation and reverb typically go after the amp or in an effects loop when present. For amps with an effects loop, put modulation and time-based effects in the loop to maintain preamp gain staging.
Line outputs and headphone outputs are valuable for direct recording. Use balanced outputs into an interface when available to minimize noise. DI boxes are useful for capturing an unaffected signal for re-amping. Ground loops are a common source of hum; resolve them by using balanced connections, lifting the DI ground if safe, or powering gear from the same mains circuit when possible. Proper gain staging keeps preamps below clipping while preserving transient detail. Aim for average peaks around -12 to -6 dBFS when tracking to leave headroom for processing.
Best practices summary:
- Put compressors before amp gain stages for consistent drive.
- Use buffered pedals to avoid tone loss with long cable runs.
- Prefer balanced DI or line outputs for cleaner direct captures.
Microphone Choices and Placement Techniques
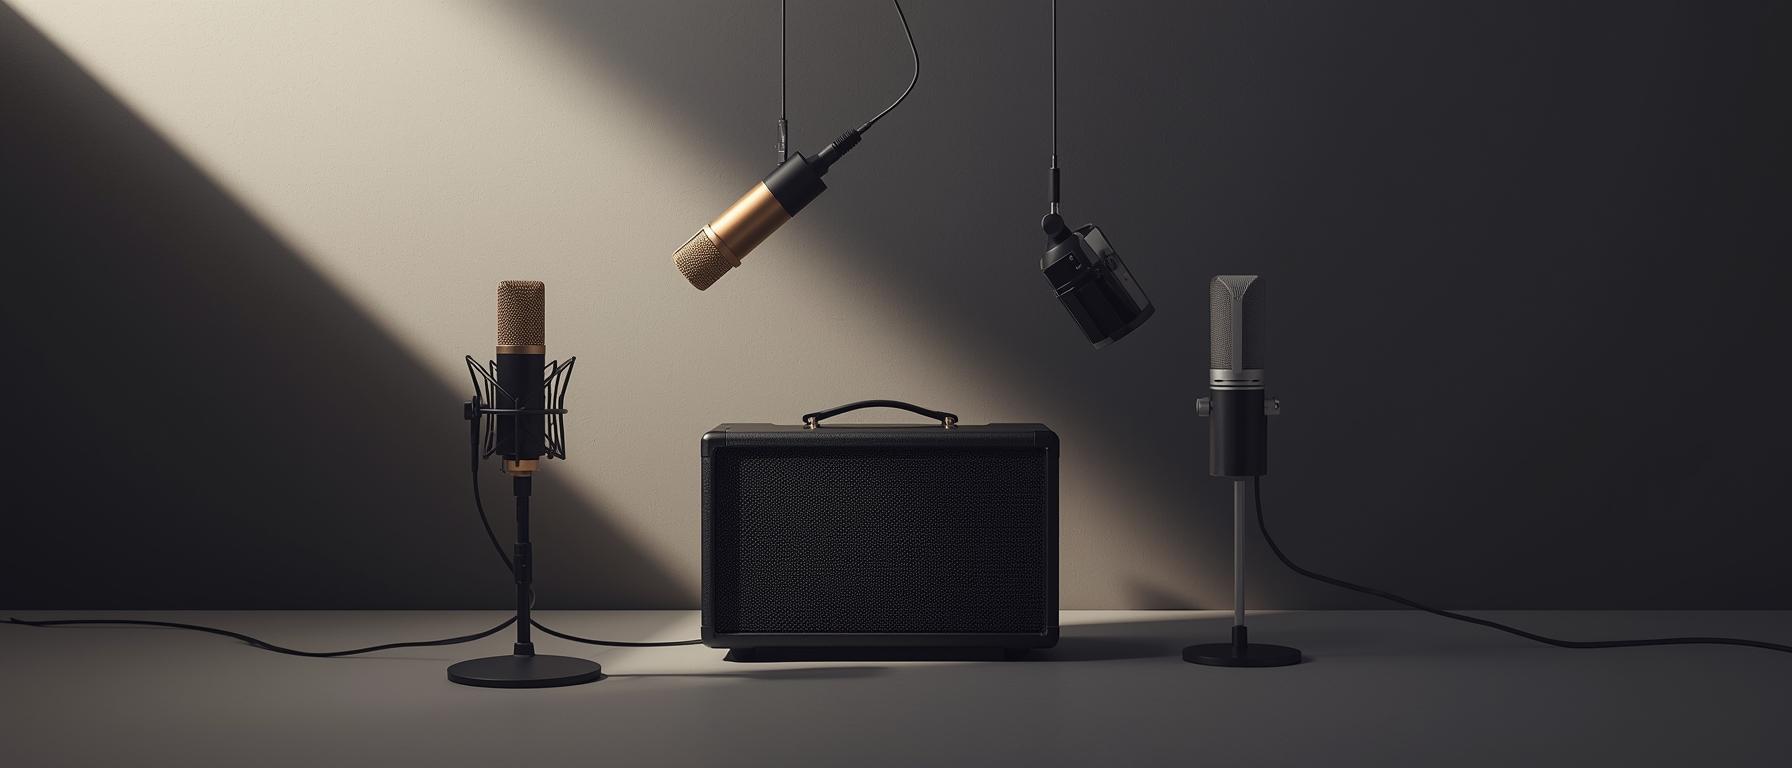
Microphone selection alters recorded character dramatically. Dynamic mics such as the Shure SM57 and Sennheiser MD421 excel on compact speakers because they handle high SPL and emphasize midrange. Large-diaphragm condensers capture more air and high end but can accentuate room reflections. Ribbon mics like the Royer R-121 yield smooth top end and fast transient response suitable for taming harsh small speakers.
Placement decisions matter more than microphone brand. On-axis placements emphasize attack and brightness. Moving off-axis reduces harshness and softens pick noise. Distance changes the low-frequency balance via proximity effect. Close-miking within 1–3 cm yields maximum presence and attack. Pulling a microphone back to 30–120 cm introduces room tone and natural decay. Combining close and ambient captures provides a blendable palette to position the amp in the mix.
DI recording and re-amping workflows complement mic captures. Capturing a DI at tracking time preserves the clean string signal for later re-amping through the mini amp or through amp simulation. When re-amping, match output impedance and level. Use dedicated re-amping boxes to convert line-level interface outputs into instrument-level signals. Load boxes and attenuators protect speakers and offer simulated speaker output when direct capture is required. Speaker emulators can be used to record a direct amp output into a console or interface when miking is impractical.
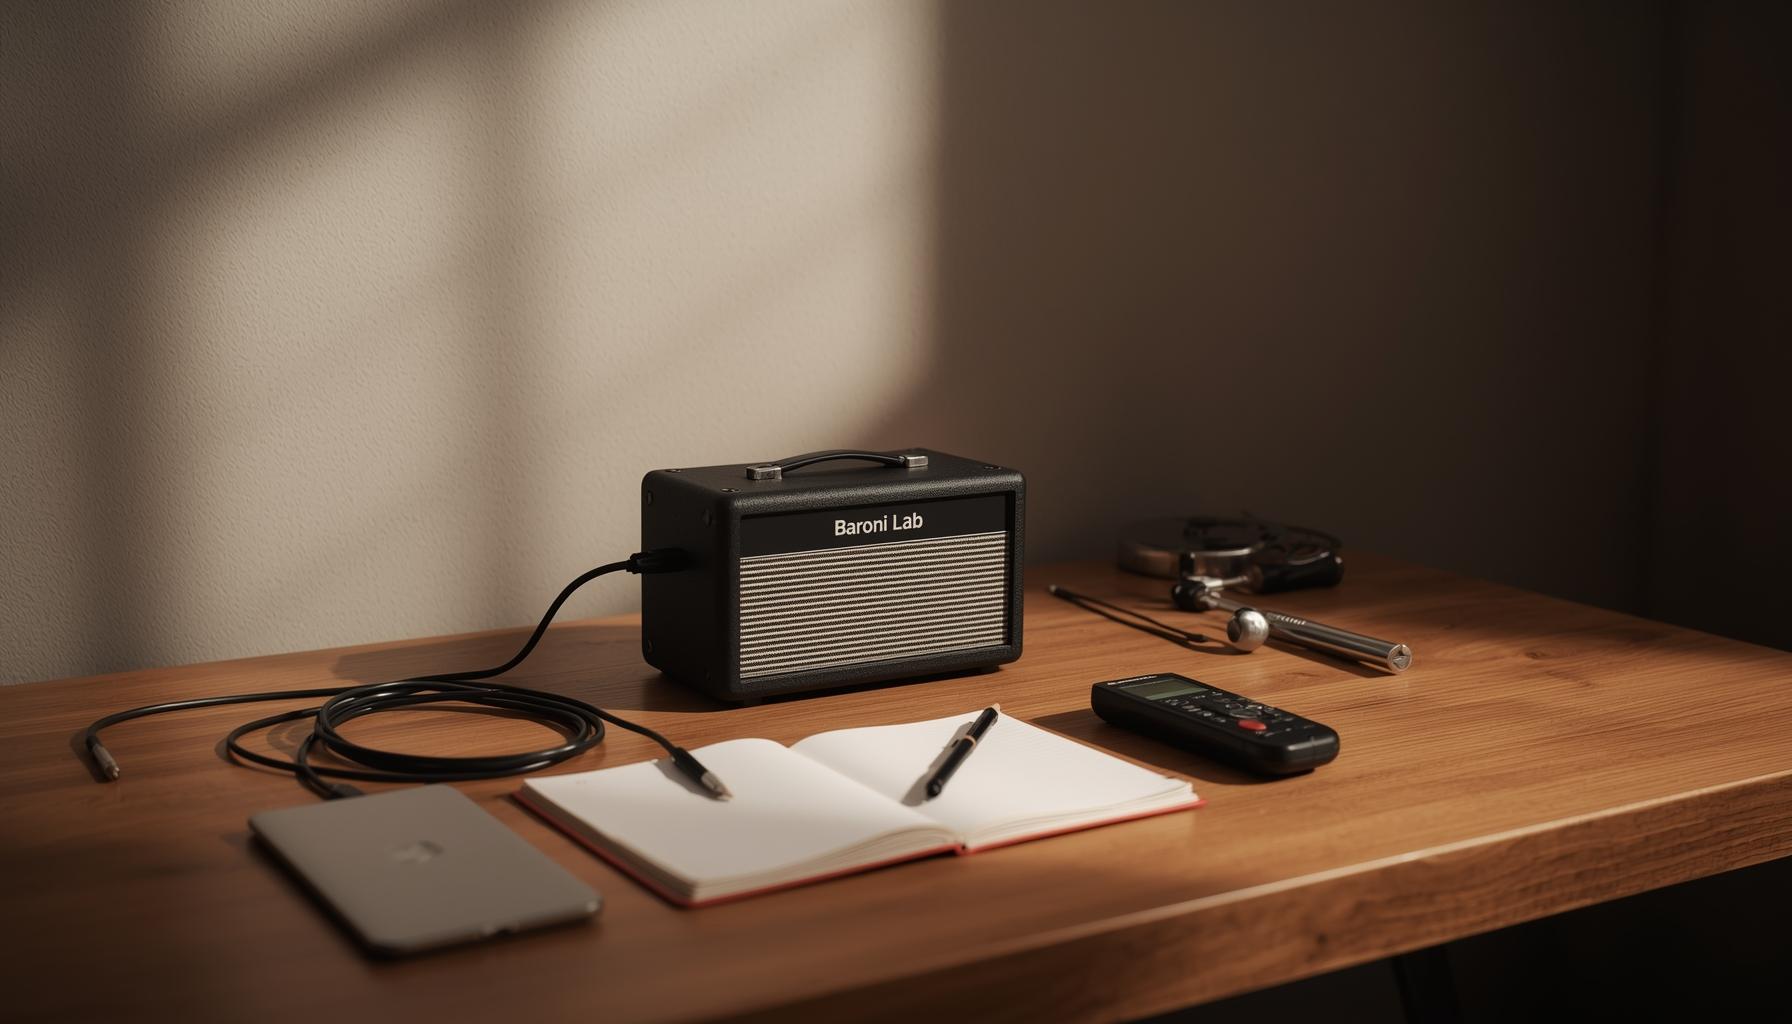
Session Setup Examples for Baroni-Lab Mini Amp
Below are practical chains and mic placements tailored for small-amp recordings with the Baroni Lab mini amp. Start with the recommended settings and adjust by ear for pickup type and playing dynamics. The rows provide a concise mapping of tone goal, microphone choice, placement, interface gain, and notes. Text follows the grid to clarify use.
| Tone Goal | Microphone | Placement (distance/position) | Interface/Preamp Gain (dB) | Notes |
|---|---|---|---|---|
| Clean, glassy archtop style | Small-diaphragm condenser (e.g., Rode NT5) | 15–30 cm, slightly off-axis to speaker center | +30–40 dB | Use open-back setting on amp; low preamp compression |
| Warm crunch | Shure SM57 | 2–4 cm, on-axis at speaker cone edge | +40–55 dB | Position at cone edge to reduce harshness |
| Tight high-gain | Sennheiser MD421 | 3–6 cm, near dust cap, 15° off-axis | +45–60 dB | Combine with DI track for re-amping options |
| Ambient stereo bed | Pair of small condensers in spaced pair | 60–120 cm, centered in room | +30–40 dB | Use for natural room depth; blend with close mic |
| Direct re-amp capture | Passive DI + re-amp box | DI at guitar, split to interface | DI trim -10 to 0 dB | Record DI and mic simultaneously for flexibility |
After the setup grid, audition gain settings while playing dynamically. If distortion appears in the interface, lower preamp gain or insert a pad. For high-gain patches, use the DI as a safety net to re-amp later.
Recording in Small Rooms, Stereo Capture, and Mixing
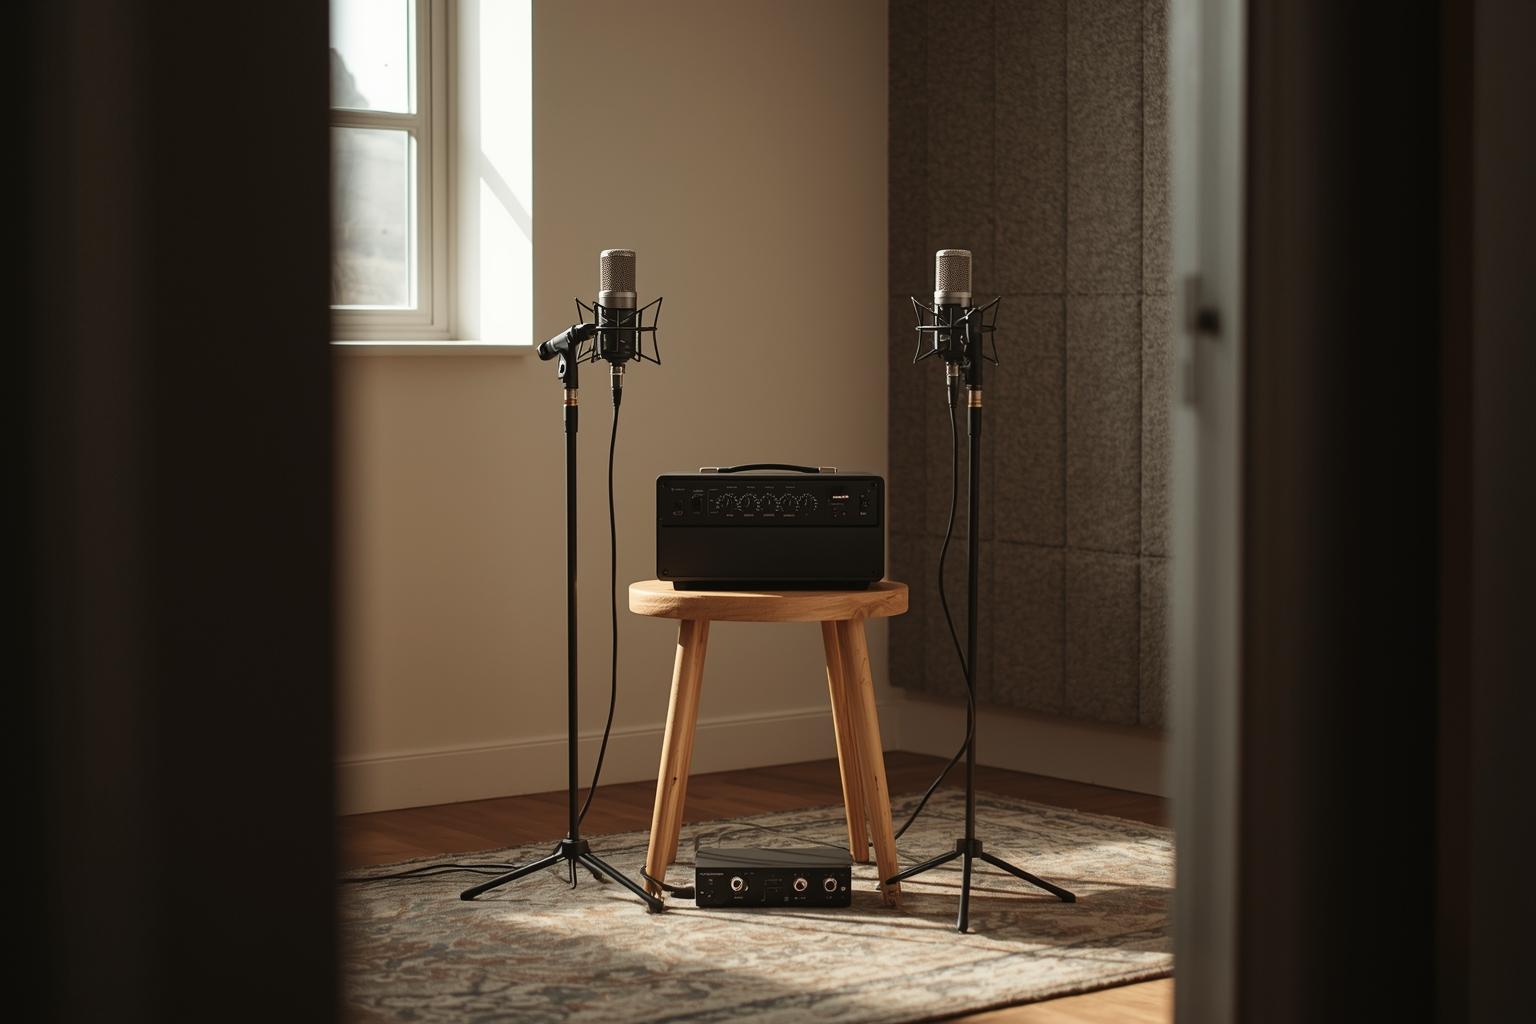
Small rooms require strategic control of reflections. Deploy absorptive panels at first reflection points and use a baffle or closet recording when extreme isolation is necessary. For low-volume recording, use attenuation and open-back positioning to maintain natural speaker interaction. Stereo techniques for compact amps include Blumlein for a realistic stereo image, mid-side for adjustable stereo width, and spaced pairs for ambient breadth. Blend close and room tracks to craft depth without cluttering midrange.
In mixing, handle frequency masking with surgical EQ on amp tracks. Roll out 200–400 Hz muddiness and tame harshness around 2.5–4 kHz when needed. Compression should preserve transients; consider gentle attack and medium release to retain pick detail. Parallel saturation or re-amping with tube emulators can thicken thin tracks. Maintain phase coherence between DI and mic signals when blending by checking polarity and time alignment.
Troubleshooting, Testing, and Recall
Common problems include hum from ground loops, solved by balanced feeds and consistent power. Phase issues between multiple microphones are addressed by inverting polarity and nudging tracks until summed low end tightens. Thin or boxy tones respond to mic repositioning toward the speaker edge, adding a subtle room mic, or using EQ boosts below 200 Hz with caution.
Establish A/B procedures with reference tracks and document exact amp settings, mic positions, cable types, and interface presets. Photograph placements and save snapshots in DAW session notes for quick recall. For consistent results across sessions, mark mic positions with tape on floors or use simple gobo fixtures to reproduce distance and angle precisely.

